Ghost Tile: The Simple Guide to Seamless Flooring
If you’ve ever walked into a room where the floor looks like a single, uninterrupted surface, you’ve seen ghost tile in action. It’s the trick that makes tiles disappear, giving you a smooth, modern look without the visual clutter of grout lines. In this guide we’ll break down what ghost tile really is, why it’s getting popular, and how you can use it without hiring a design guru.
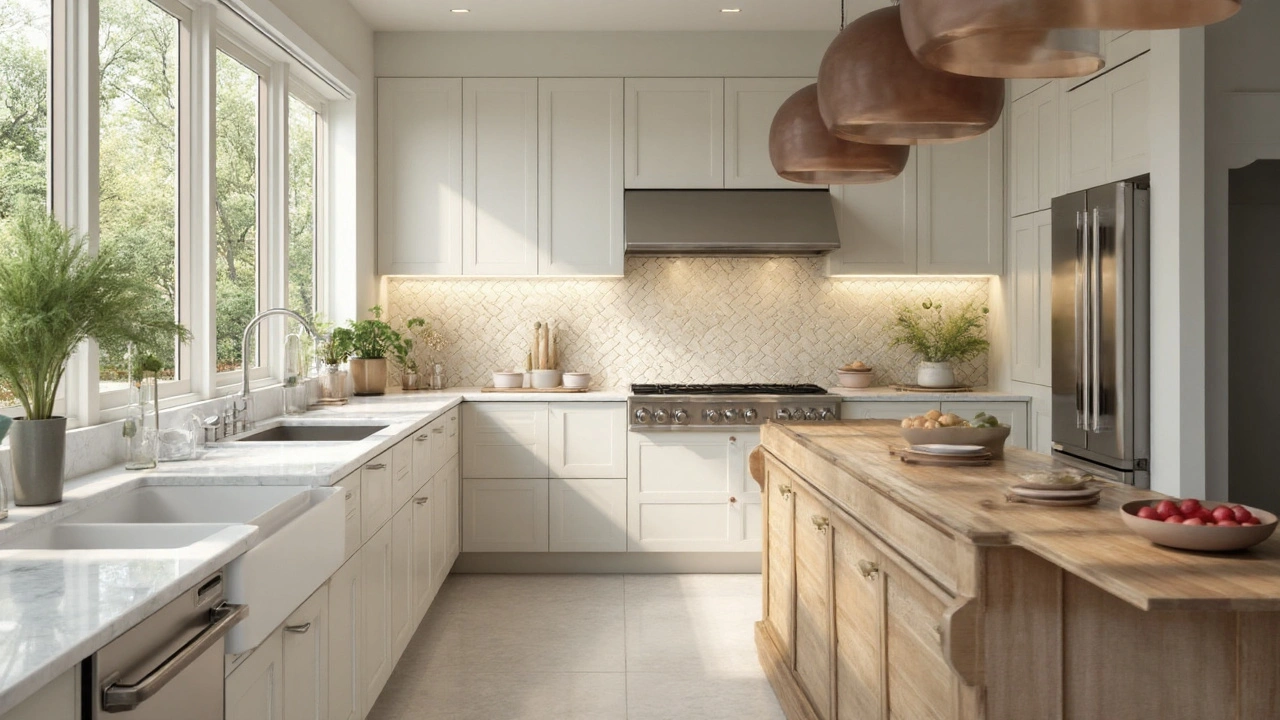
What Is Ghost Tile?
Ghost tile isn’t a special kind of tile – it’s a styling method. The idea is to use tiles that match the color of your floor or wall and install them with very thin, light‑colored grout. The grout blends in so much that the joints look almost invisible. The result is a floor that feels like a solid slab, but you still get the durability of tile.
Most people choose light‑neutral tiles – whites, creams, soft grays – because they hide the grout best. You can also go bold with dark tiles and a matching dark grout for a dramatic, “no‑lines” effect. The trick works on ceramic, porcelain, and stone, so you have plenty of material options.
How to Pick and Install Ghost Tile
Start with the right tile. Look for a size that fits your room dimensions; larger tiles (12×12 inches or bigger) create fewer joints, which makes the ghost effect easier to pull off. If you have a small bathroom, a 6×6 tile can work, but you’ll need a very precise grout mix.
Next, choose grout that matches the tile color as closely as possible. Many manufacturers sell “color‑matched” grout packets – grab the one that’s labeled the same shade as your tile. When you mix it, add a little extra water than usual; a thinner mix spreads more evenly and reduces the depth of the lines.
Installation is straightforward if you follow a simple process:
- Prep the subfloor – make sure it’s clean, level, and dry.
- Lay out the tiles without adhesive first. This helps you see the pattern and avoid awkward cuts.
- Apply a thin layer of thin‑set mortar, press the tile down, and use spacers that are the same size as the grout line you want (usually ¼ inch or less).
- After the mortar sets, mix your color‑matched grout and push it into the joints with a rubber float. Work quickly to keep the surface clean.
- Wipe off excess grout with a damp sponge before it hardens. A final polish with a soft cloth brings out the “ghost” look.
Maintenance is a breeze. Because the grout is so light, it won’t show stains as easily as darker lines. Sweep or vacuum daily, mop with a pH‑neutral cleaner, and you’re good to go. If a line does get a bit darker over time, a quick spot‑clean with a grout‑whitening solution restores the seamless look.
Ghost tile works well in kitchens, bathrooms, and even living rooms where you want a clean, upscale vibe without the cost of a poured concrete floor. Pair it with simple baseboards or go barefoot – the floor becomes the star of the room.
So if you’re looking for a modern, low‑maintenance surface that feels like a single piece of stone, give ghost tile a try. Pick a matching tile and grout, follow the basic steps, and enjoy a floor that practically disappears under your feet.
What Is Ghost Tile? A Practical Guide to This Invisible Flooring Trend
Discover what ghost tile is, how it differs from traditional tiles, its installation, design benefits, maintenance tips, and when to choose it for your home.
view more