You’re not imagining it-some kitchens make you walk laps to make a simple pasta dinner. The promise of the triangle rule is fewer steps and smoother moves between the sink, stove, and fridge. Here’s the kicker: it still works in 2025, but it’s not a one-size-fits-all law. I’ll show you the exact measurements, how to map your triangle in under an hour, where it breaks down (hello, islands), and the modern tweaks-like zones-that make life easier for real households.
TL;DR: The Triangle Rule, in Plain English
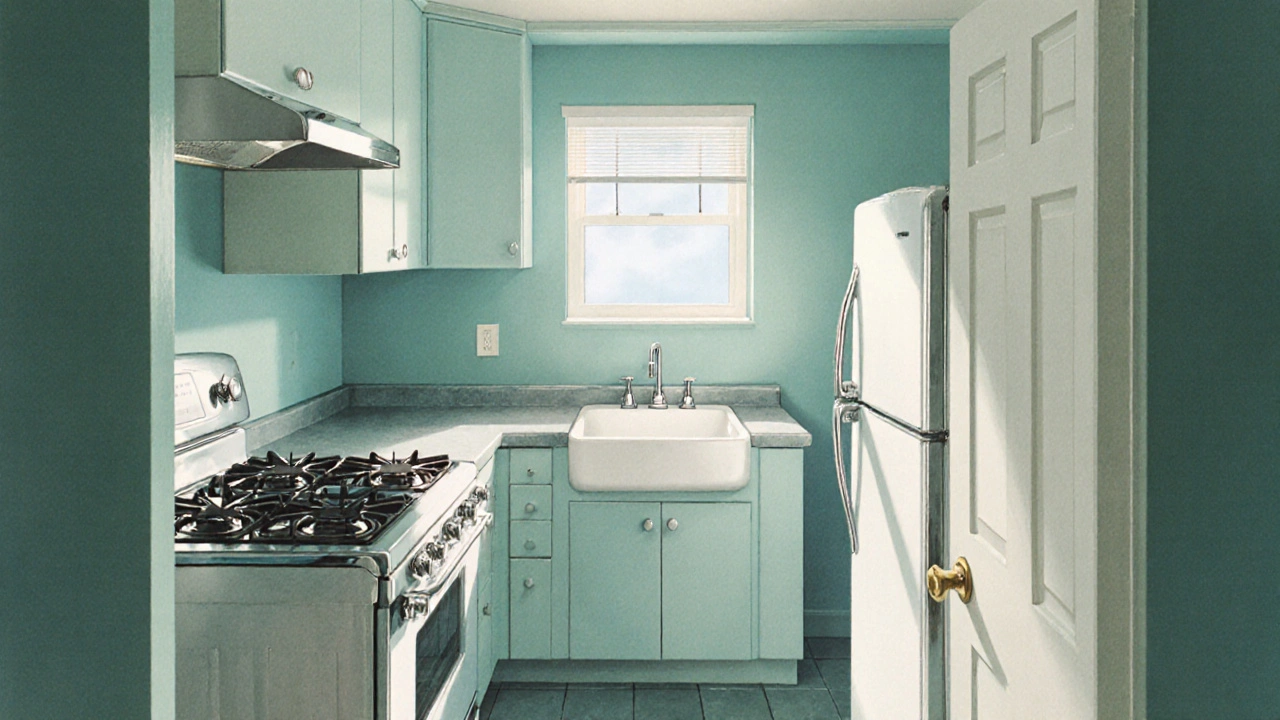
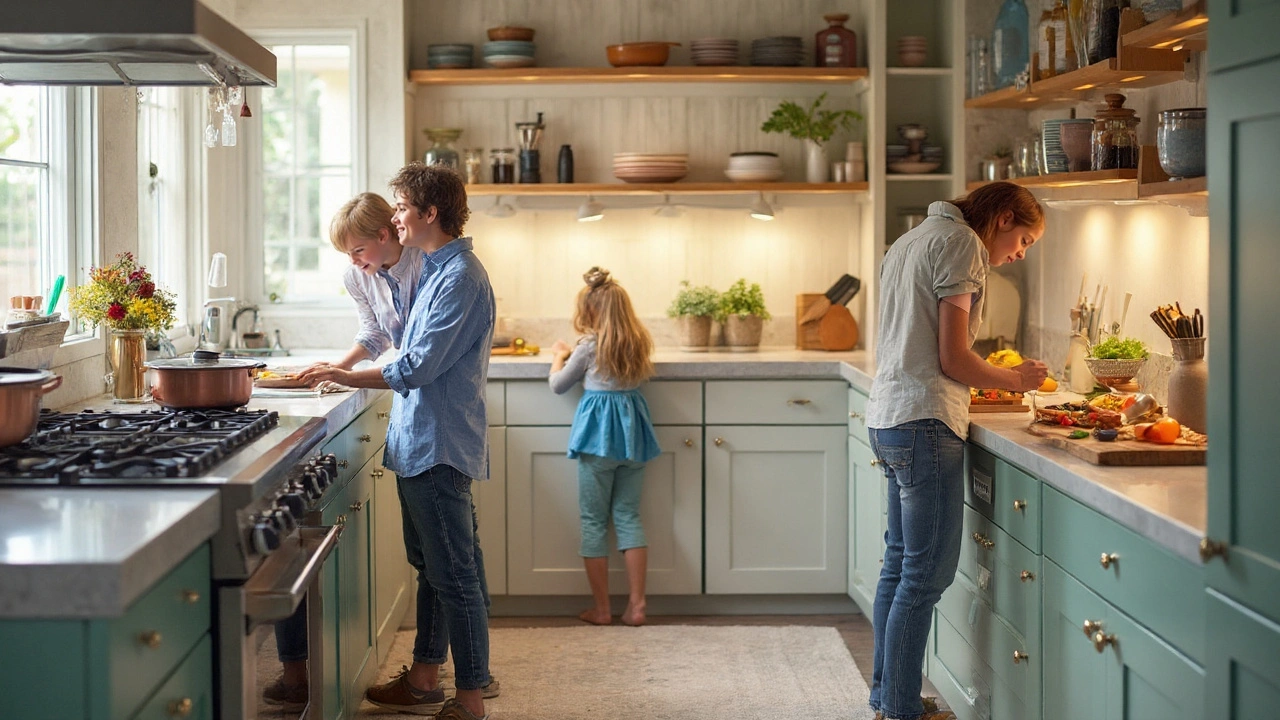
The kitchen work triangle links your sink, cooktop/oven, and refrigerator. Keep each leg short enough to cut walking but long enough to avoid crowding. It’s about workflow, not geometry perfection.
- Classic measurements (from NKBA planning guidelines): each triangle leg 4-9 ft (1.2-2.7 m); total of all three legs 13-26 ft (4.0-7.9 m).
- Clearances: work aisle 42 in (107 cm) for one cook; 48 in (122 cm) for two. Walkway behind a seated area: 36 in (91 cm).
- Landing space: sink 24 in (61 cm) on one side + 18 in (46 cm) on the other; cooktop 12 in (30 cm) + 15 in (38 cm); fridge 15 in (38 cm) nearby.
- Keep the triangle path free: no tall cabinets, island corners, or doors blocking those lines.
- When to bend the rule: open-plan kitchens with big islands, multi-cook homes, tiny condos, and accessible layouts often work better with “zones.”
Source: National Kitchen & Bath Association (Kitchen Planning Guidelines with Access Standards). For accessibility, also see CSA B651 and CMHC guidance in Canada.
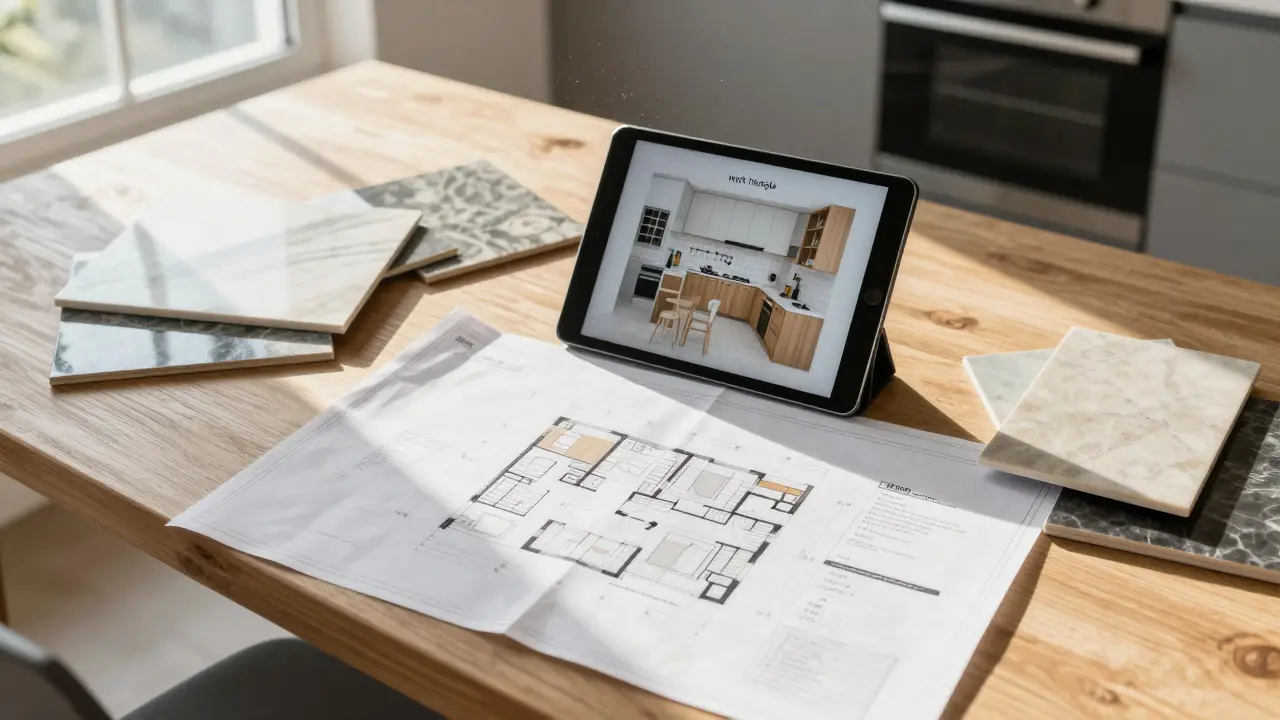
How to Plan and Measure Your Triangle (Step-by-Step)
You can sketch and test your triangle in about 45 minutes with a tape measure and painter’s tape. This works whether you’re renovating or just rearranging.
- Mark the three points. Identify the center of the sink, the center of the cooktop (not necessarily the oven), and the midpoint of the refrigerator doors. If you’ve got a range (combined oven/cooktop), that’s one point.
- Measure each leg. Measure straight-line distances: sink→range, range→fridge, fridge→sink. Write them down in feet and meters. Target 4-9 ft (1.2-2.7 m) per leg.
- Check the total. Add all three legs. Aim for 13-26 ft (4.0-7.9 m). If you’re under, things feel cramped; over, you’ll log 5,000 extra steps a year making tea. (Yes, I tested that in my Burlington townhouse during a pre-reno week.)
- Confirm your aisles. Measure the clear floor between counters or island edges. One cook: 42 in (107 cm). Two cooks: 48 in (122 cm). If you often cook with a partner or kids dart around, plan for the larger number.
- Protect landing zones. Place at least 24 in (61 cm) of counter on one side of the sink and 18 in (46 cm) on the other. For the cooktop, keep 12 in (30 cm) on one side and 15 in (38 cm) on the other. Near the fridge, 15 in (38 cm) within arm’s reach.
- Simulate the workflow. Tape the appliance footprints on the floor. Walk your usual tasks: grab milk (fridge), rinse veg (sink), sauté (cooktop). If you collide with an island corner, trash pullout, or barstools, adjust now-not after cabinets arrive.
- Map secondary helpers. Place the dishwasher next to the sink (ideally within 36 in / 91 cm of the sink edge) and ensure a 21 in (53 cm) standing clearance in front of it. Keep trash/recycling within a step of the sink and prep zone.
- Lock in heights and sightlines. Standard counter height is ~36 in (91 cm). If anyone is tall/short or uses a wheelchair, note needed adjustments and turning spaces (see Accessibility below).
- Decide on sink placement. The sink is your primary station; building the triangle around it typically yields the best flow. In island-heavy spaces, move the prep sink to the island, keep the cleanup sink on the perimeter, and recheck distances.
- Sanity-check utilities. Make sure electrical runs, plumbing, and ventilation can support your new locations. Triangles die fast when the hood can’t vent or the fridge door hits a wall.
Tip: If your range and wall oven are separate, choose the cooktop as the triangle point. The oven is secondary and can sit outside the triangle with a landing spot nearby.
Layout Examples and When to Bend the Rule
Real kitchens aren’t perfect triangles. Here’s how common layouts hit the sweet spot-and where to cheat without hurting usability.
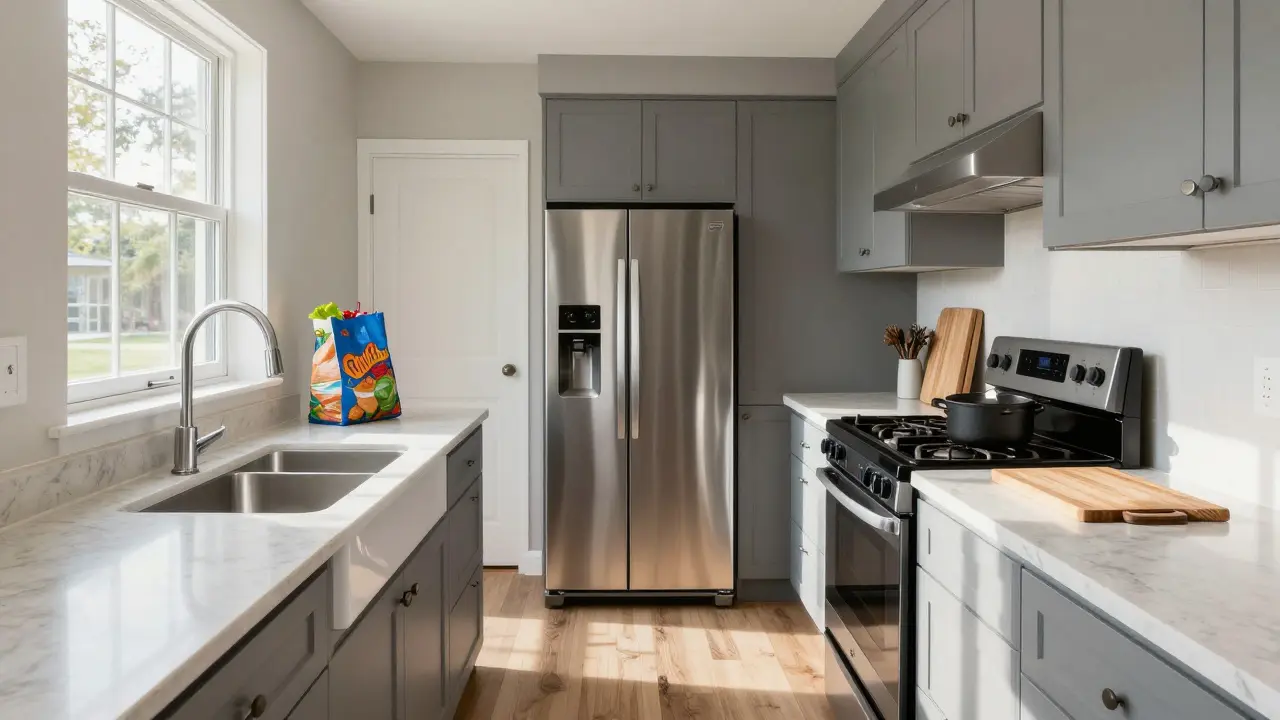
L-shaped with an island (family-friendly): Put the sink on the long run, cooktop on the adjacent run, fridge at the end of the short leg. Your triangle is tight, and the island becomes the prep/landing hub. Watch for island overhangs creating pinch points-keep 42-48 in clearance. If you host a lot, add a small prep sink on the island to split the workload.
U-shaped (power prepper): Sink at the base, cooktop on one arm, fridge on the opposite arm. This usually nails 4-9 ft legs. If the U is too wide, the sum may exceed 26 ft; narrow the arms with deeper base cabinets (for storage) and bring the fridge closer to the sink.
Galley (small condo, serious cooking): Place the sink and cooktop on opposite runs so the path is short and straight. Put the fridge at one end to avoid door fights. For a Toronto-sized condo galley, I like 42 in between runs to allow one cook and a pass-by without bumps. If you’re at 36 in, be disciplined with handles and trash placement.
One-wall with island (open plan): Your triangle is really a line plus a dot. Move a prep sink to the island facing the cooktop. Fridge at one end of the wall, cooktop mid-wall, cleanup sink near the dishwasher. You’re technically breaking the classic rule, but the island prep sink restores the workflow.
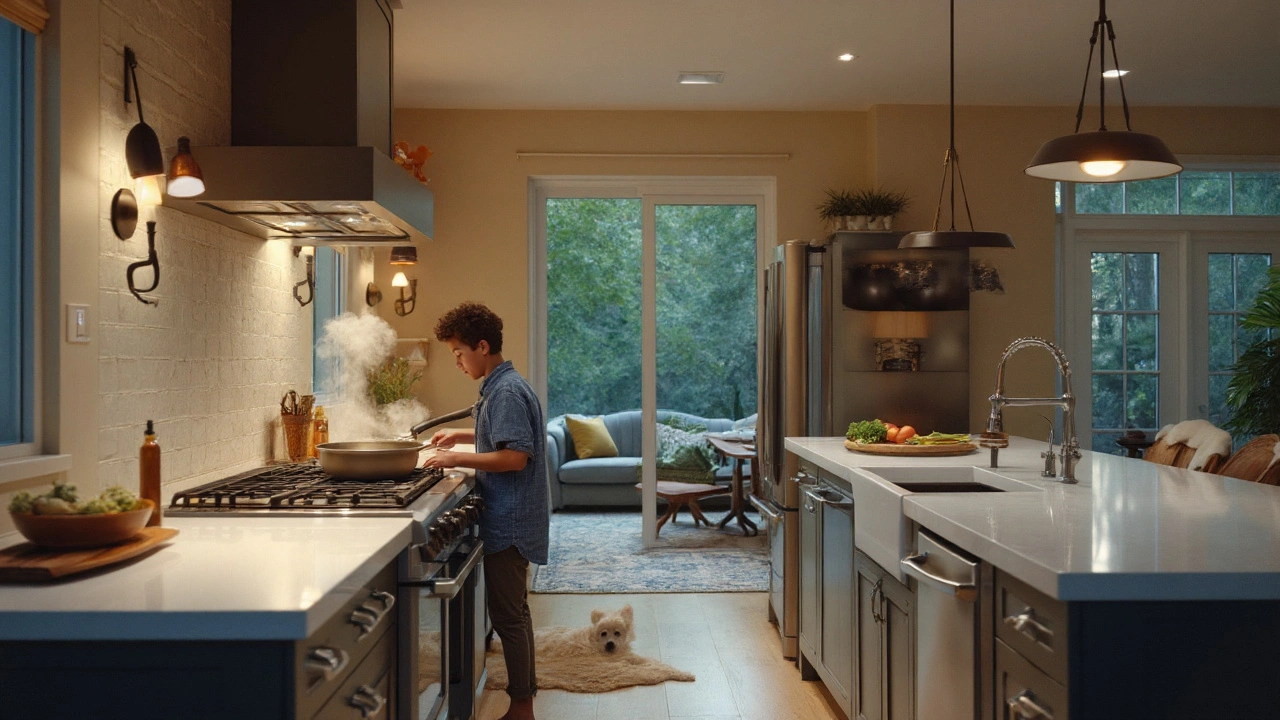
Two-cook households: Split into zones. Keep the cooktop and a small prep sink near each other for the primary cook; place the fridge and main sink for the secondary cook handling salads or drinks. Expect larger aisles (48 in) and accept a slightly longer triangle to prevent shoulder-checks.
Accessible and aging-in-place: Favor zones and straight paths. Aisles 48-60 in (122-152 cm) for wheelchairs or walkers, with knee clearance under one prep area and a side-opening wall oven. The triangle becomes less “tight” on purpose to make turning and seated prep safe.
Rural or suburban great rooms: Big islands tempt oversizing. If your island is 10 ft long, you might push the fridge too far. Put the fridge closer to the sink, and use tall pantry storage away from the triangle to keep your prime real estate efficient.
Quick Checklists, Cheat-Sheets, and Pro Tips
Bookmark this section before you order cabinets. It’s the stuff that saves budgets and backs.
Golden measurements (fast reference)
| Item | Recommended | Metric | Notes / Source |
|---|---|---|---|
| Triangle leg (each) | 4-9 ft | 1.2-2.7 m | NKBA |
| Triangle total | 13-26 ft | 4.0-7.9 m | NKBA |
| Work aisle (1 cook) | 42 in | 107 cm | NKBA |
| Work aisle (2+ cooks) | 48 in | 122 cm | NKBA |
| Walkway (no work) | 36 in | 91 cm | NKBA |
| Sink landing | 24 in + 18 in | 61 cm + 46 cm | NKBA |
| Cooktop landing | 12 in + 15 in | 30 cm + 38 cm | NKBA |
| Fridge landing | 15 in | 38 cm | NKBA |
| Dishwasher clearance | 21 in in front | 53 cm | NKBA |
| Accessible turning circle | 60 in diameter | 152 cm | CSA B651 / CMHC |
Pre-design checklist
- Who cooks, how many at once, and what do you cook? (Boil-and-go vs. marathon baking changes everything.)
- Must-have appliances and their sizes (36 in range? 30 in wall oven? Counter-depth fridge?).
- Trash/recycling/compost location near prep sink.
- Vent path for the hood (especially in condos with concrete ceilings).
- Door swings for fridge, oven, dishwasher-no collisions.
- Stool seating vs. storage trade-off on the island.
- Lighting plan: task lighting over prep; ambient elsewhere.
Micro-heuristics that save steps
- Keep knives, cutting boards, and bowls in the prep zone by the sink; pots and utensils by the cooktop.
- Put everyday dishes near the dishwasher for a short unload loop.
- Store breakfast items (cereal, toaster, bowls) together to create a mini “breakfast zone” away from the main cook.
- Move the microwave out of the triangle-often into a pantry cabinet or under the island-to free landing space.
- In winter boot country (hi from Burlington), leave a clear 36 in path behind island stools so coats and bags don’t block your triangle.
When to choose zones over a strict triangle
- Open-plan spaces with big islands that naturally pull prep to the island.
- Households with two cooks or a helper (one zone for sautéing, one for salads).
- Accessible designs requiring larger clearances and knee spaces.
- Entertaining-heavy homes: a beverage/snack zone keeps guests out of the cook’s path.
Common pitfalls (and easy fixes)
- Fridge is too far: slide it closer to the sink wall; shift pantry storage away from the triangle.
- Island pinch point: notch the island 3-6 in, shrink overhang, or choose sleeker hardware to reclaim aisle width.
- No landing next to the cooktop: add a narrow pull-out or widen the counter run by 6 in.
- Dishwasher door blocks the sink: switch the hinge side or move the DW to the other side of the sink base.
- Back-to-back doors (fridge vs. oven): stagger them or pick a French-door fridge to reduce swing depth.
FAQ, Next Steps, and Troubleshooting
Is the triangle rule outdated? Not really. It’s a proven baseline. But modern homes layer “zones” onto the triangle: prep, cook, clean, bake, beverage. Think of the triangle as the backbone, zones as the muscles.
What if my kitchen is tiny? In a small galley or one-wall, aim for shorter legs (closer to 4-6 ft) and prioritize clear counter next to the sink and cooktop. A pull-out counter or cutting board can act as temporary landing space.
Do I need two sinks? If you have a big island or two cooks, a prep sink on the island is a game-changer. If space is tight, one well-placed sink with a wide prep counter is fine.
How do I handle a wall oven plus cooktop? Use the cooktop in your triangle. Park the wall oven slightly outside with a 15 in (38 cm) landing shelf or counter nearby. This keeps baking from interrupting stovetop work.
Induction vs. gas-does it change the triangle? No, but induction can shrink required ventilation and makes side landings safer since pans cool faster. Still keep those landing spaces.
What codes apply in Canada? Clearances and heights vary by province and municipality. The workflow rules here are NKBA guidelines (best practice), not code. Always verify electrical, ventilation, and gas requirements with your local building department and your contractor.
Accessibility must-haves? Target 48-60 in aisles, D-shaped handles, knee space under one prep area, side-hinged oven or wall oven at reachable height, and pull-outs for lower storage. References: CSA B651 and CMHC guidance on barrier-free housing.
Next steps (choose your path)
- DIY planner: Draw your room to scale, mark the three points, and write down each leg. Adjust until you’re near 4-9 ft per leg and 13-26 ft total. Then place landing spaces and verify aisle widths.
- Working with a designer: Ask for two versions: strict triangle and zone-based. Request a dimensioned plan showing all landings and aisle widths, plus an appliance door-swing overlay.
- Renovating on a budget: Keep plumbing where it is and improve the triangle by relocating the fridge and adding prep space. Often the cheapest win is moving the fridge closer to the sink and tightening clearances.
- New build or gut reno: Decide early whether the island carries prep (add a prep sink and outlets) or seating (protect the cook’s path with a wider aisle).
Troubleshooting scenarios
- Triangle total is 28 ft: Bring the fridge closer to the sink, or rotate the range to the adjacent run. Check if an oversized island is forcing distance-shave it by 6-12 in.
- Aisle is only 36 in but two cooks: Pick one-cook workflow. Move seating or reduce protruding handles. Consider slide-in range with minimal knobs to reclaim inches.
- No room for sink landings: Add a 9-12 in pull-out next to the sink with a cutting board insert, or install a sink with integrated ledges for boards and racks.
- Fridge doors hitting a wall: Swap for a French-door model, or flip the hinge. Recess the fridge if wall thickness allows.
- Island cooktop splatter and crowding: Move the cooktop to the perimeter. If it must stay, build a 2-3 in raised guard behind it and keep 48 in aisles.
Evidence and experience
The measurements here track with NKBA Kitchen Planning Guidelines (2024/2025) and accessibility standards from CSA B651 and CMHC. In practice, homeowners get the biggest gains by: (1) pulling the fridge closer to the sink, (2) protecting 42-48 in aisles, and (3) dedicating true prep space beside the sink. Those three fixes alone often make a cramped kitchen feel professionally designed-without moving every wall.